Table of Content
You want to make sure it will capture as much of the detail as possible and all of the colors that are present in your sticker design. There are a couple things you will need in order to make homemade stickers with your cricut machine. Finally take a second piece of shipping tape and place the sticky side on top of your sticker design elements.

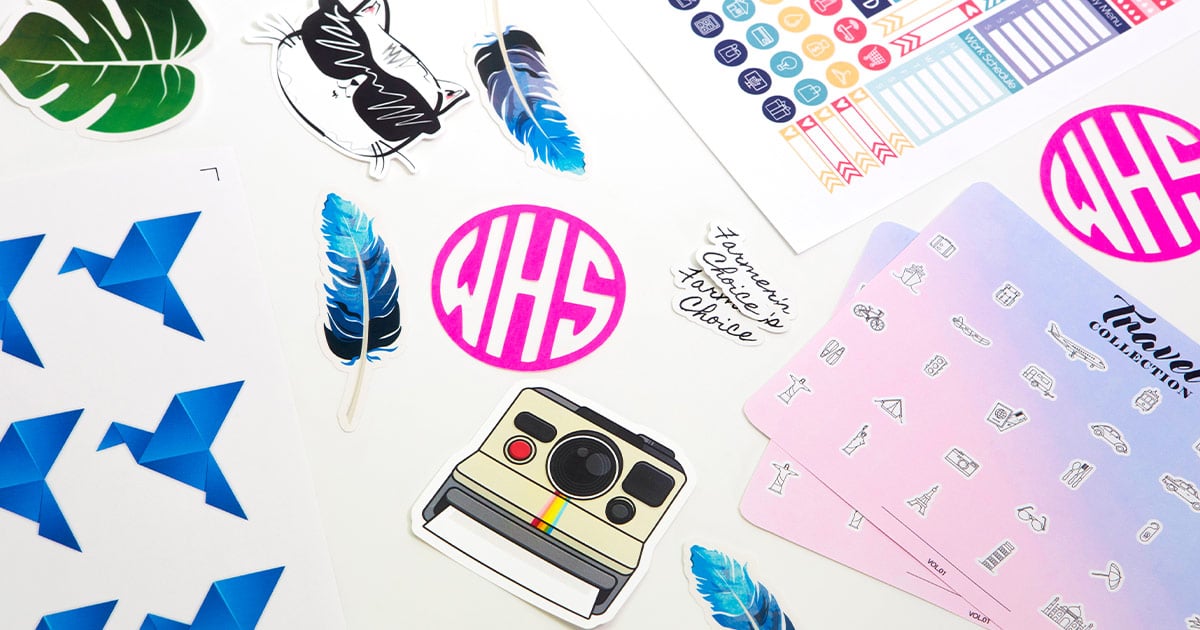
Which can also assist in the design and production of your stickers. Which allows users to design and build their own stickers. There are other websites that offer the templates for how to make homemade stickers.
Printing
If you love this Potstickers recipe as much as we do, make sure you share it with your friends on Facebook and Instagram so they can try them too! Don't forget to Pin it so you can make them again soon. They're both encased in dough and filled with delicious ingredients. Potstickers are called pot stickers because--well--they are known to stick to the pan when you cook them. Potstickers are a deliciously satisfying tender and flavorful bite. Enjoy them as a quick side dish, or appetizer that is sure to please any crowd.
Once your design is complete, save your file as a PNG or JPEG. You need to upload this file into cricut software. You want to be sure that there are no jagged edges and that the outline of your custom sticker is smooth. This would include cutting out any type of graphics or quotes that you find. Planning is a key element for how to make homemade stickers. Below are some household supplies that you will need for making your own stickers.
Create your customized sticker design
A money-saving frugal mom, budgeting fanatic, and personal finance expert. With my master's degree in education and life experience, I help families save money, make money online, and reach financial freedom. You have to know the production costs for the stickers you make and sell. Another cost to remember is whether you are outsourcing the printing and shipping of the sticker.
The final step in the stage would be to lay your packing tape sticky side down on top of the stickers. Make sure that the packaging tape is covering all elements of your sticker design. Once you lay the packaging tape over your sticker design, you won’t be able to remove it. Press down to make sure the sticker adheres to the glue. Then, peel the sticker - the glue will now be on the back of the sticker.
DIY Stickers and How to Make Homemade Stickers FAQ’s
You will need to use the sticker right away because there is no protective cover on the back. Cut a piece of clear packing tape large enough to cover an entire cut-out design. Place it on the front of the design that you cut or printed out.

If you love DIY projects, home decor, or need help with your creative business, click around and stay a while. Be sure to follow along on Pinterest for even more creative inspo. My name is Bonnie and I live in Toronto, Canada working as a landscape architect. I am always interested in trying new crafts and my main interests are in fibre arts, sewing, photography, and watercolour painting. I also love travelling and have lived in South Korea for two years. Begin by putting a piece of tape on the parchment paper .
Step 2: The Adhesive
This will help you to adjust the printer settings if necessary and ensure that you’re happy with the results. With a little bit of planning, you can have custom stickers printed at home for a fraction of the cost of buying them from a store. With a 30% larger design, the HP Sprocket Select produces larger stickers at 2.3 x 3.4 inches. Both models are great for scrapbookers and family craft projects, and they’re both about the size of a smartphone. That means you can print stickers at home and on the go. They typically come in page-sized adhesive sheets with a backing you need to pull off.

Press the vinyl firmly and ensure it adheres well to the surface, and voila! Once you have placed everything on one page, you should print the design by first test printing on regular paper. First, you need to think about the proper medium to print your stickers on. Stickers are commonly printed on eitherpaperorvinyl.
For larger, simpler designs, use a pair of sharp scissors to cut the stickers out by hand. For finer, more intricate designs, consider using a Cricut machine for an accurate and smooth cut. There are several different models to pick from, but the two portable versions support sticker printing.
Now vinyl stickers can cost more to create, but you can also charge more for them. People buy a vinyl sticker expecting to get something long-lasting and are willing to pay more per sticker. After printing, the stickers need to be carefully cut and trimmed so your customers can peel them easily. You can do this yourself with some scissors or other trimming supplies. In this blog post, we’ll talk about how to start your sticker business, design your own stickers, get them printed, and where to sell them once they’re done.
What kind of vinyl labels do you suggest I could use for the printers above? Your basic equipment is an office printer to print your stickers at home, plus quality ink and paper. The basic HP Sprocket is designed for mobility and ease of use.
Some may have pre-divided sections to make this easier, but you’ll typically need to cut if you use laminate sheets. As a tip, it’s much easier to cut out simple designs with square or rectangular shapes. After your design is imported into cricut design space, you have a lot of options. You can customize the size of your sticker design, making it larger or smaller, and you can also rotate the image. Another method to cut your decals is to use your vinyl cutter and place your vinyl sheet on a cutting mat and feed it into your Cricut.
When you are printing paper stickers you want to use good-quality paper, the quality makes a difference in how well they print and how long they last. Once you have a name picked out (that isn’t taken already!), you’ll need to know your financial situation. How much you can invest in your sticker supplies helps you create and sell more. Peel the rest of the over-laminate backing away slowly.
The layout depends on how many stickers you want to print per sheet, and the size of the sheets. You can adjust your page dimensions in Microsoft Word to pack more stickers into each sheet, but make sure to leave some space between each repetition. It’s easier to cut out stickers with some extra room between them. In this article, we’ll focus on the easier ways to print your own stickers and include information on how and when to use product alternatives or upgrades.


No comments:
Post a Comment